A Simple Circular Saw Jig/Guide (with designs)
Having jumped headfirst into woodworking, the first thing I wanted to build was a jig from this excellent video. It’s a right-angle circular saw jig (the first one in the video) — you just rest it up against a piece to give you a nice square cut (if you’ve built it square!).
Here’s the drawing:
 Technical drawing of a simple right-angle circular saw jig.
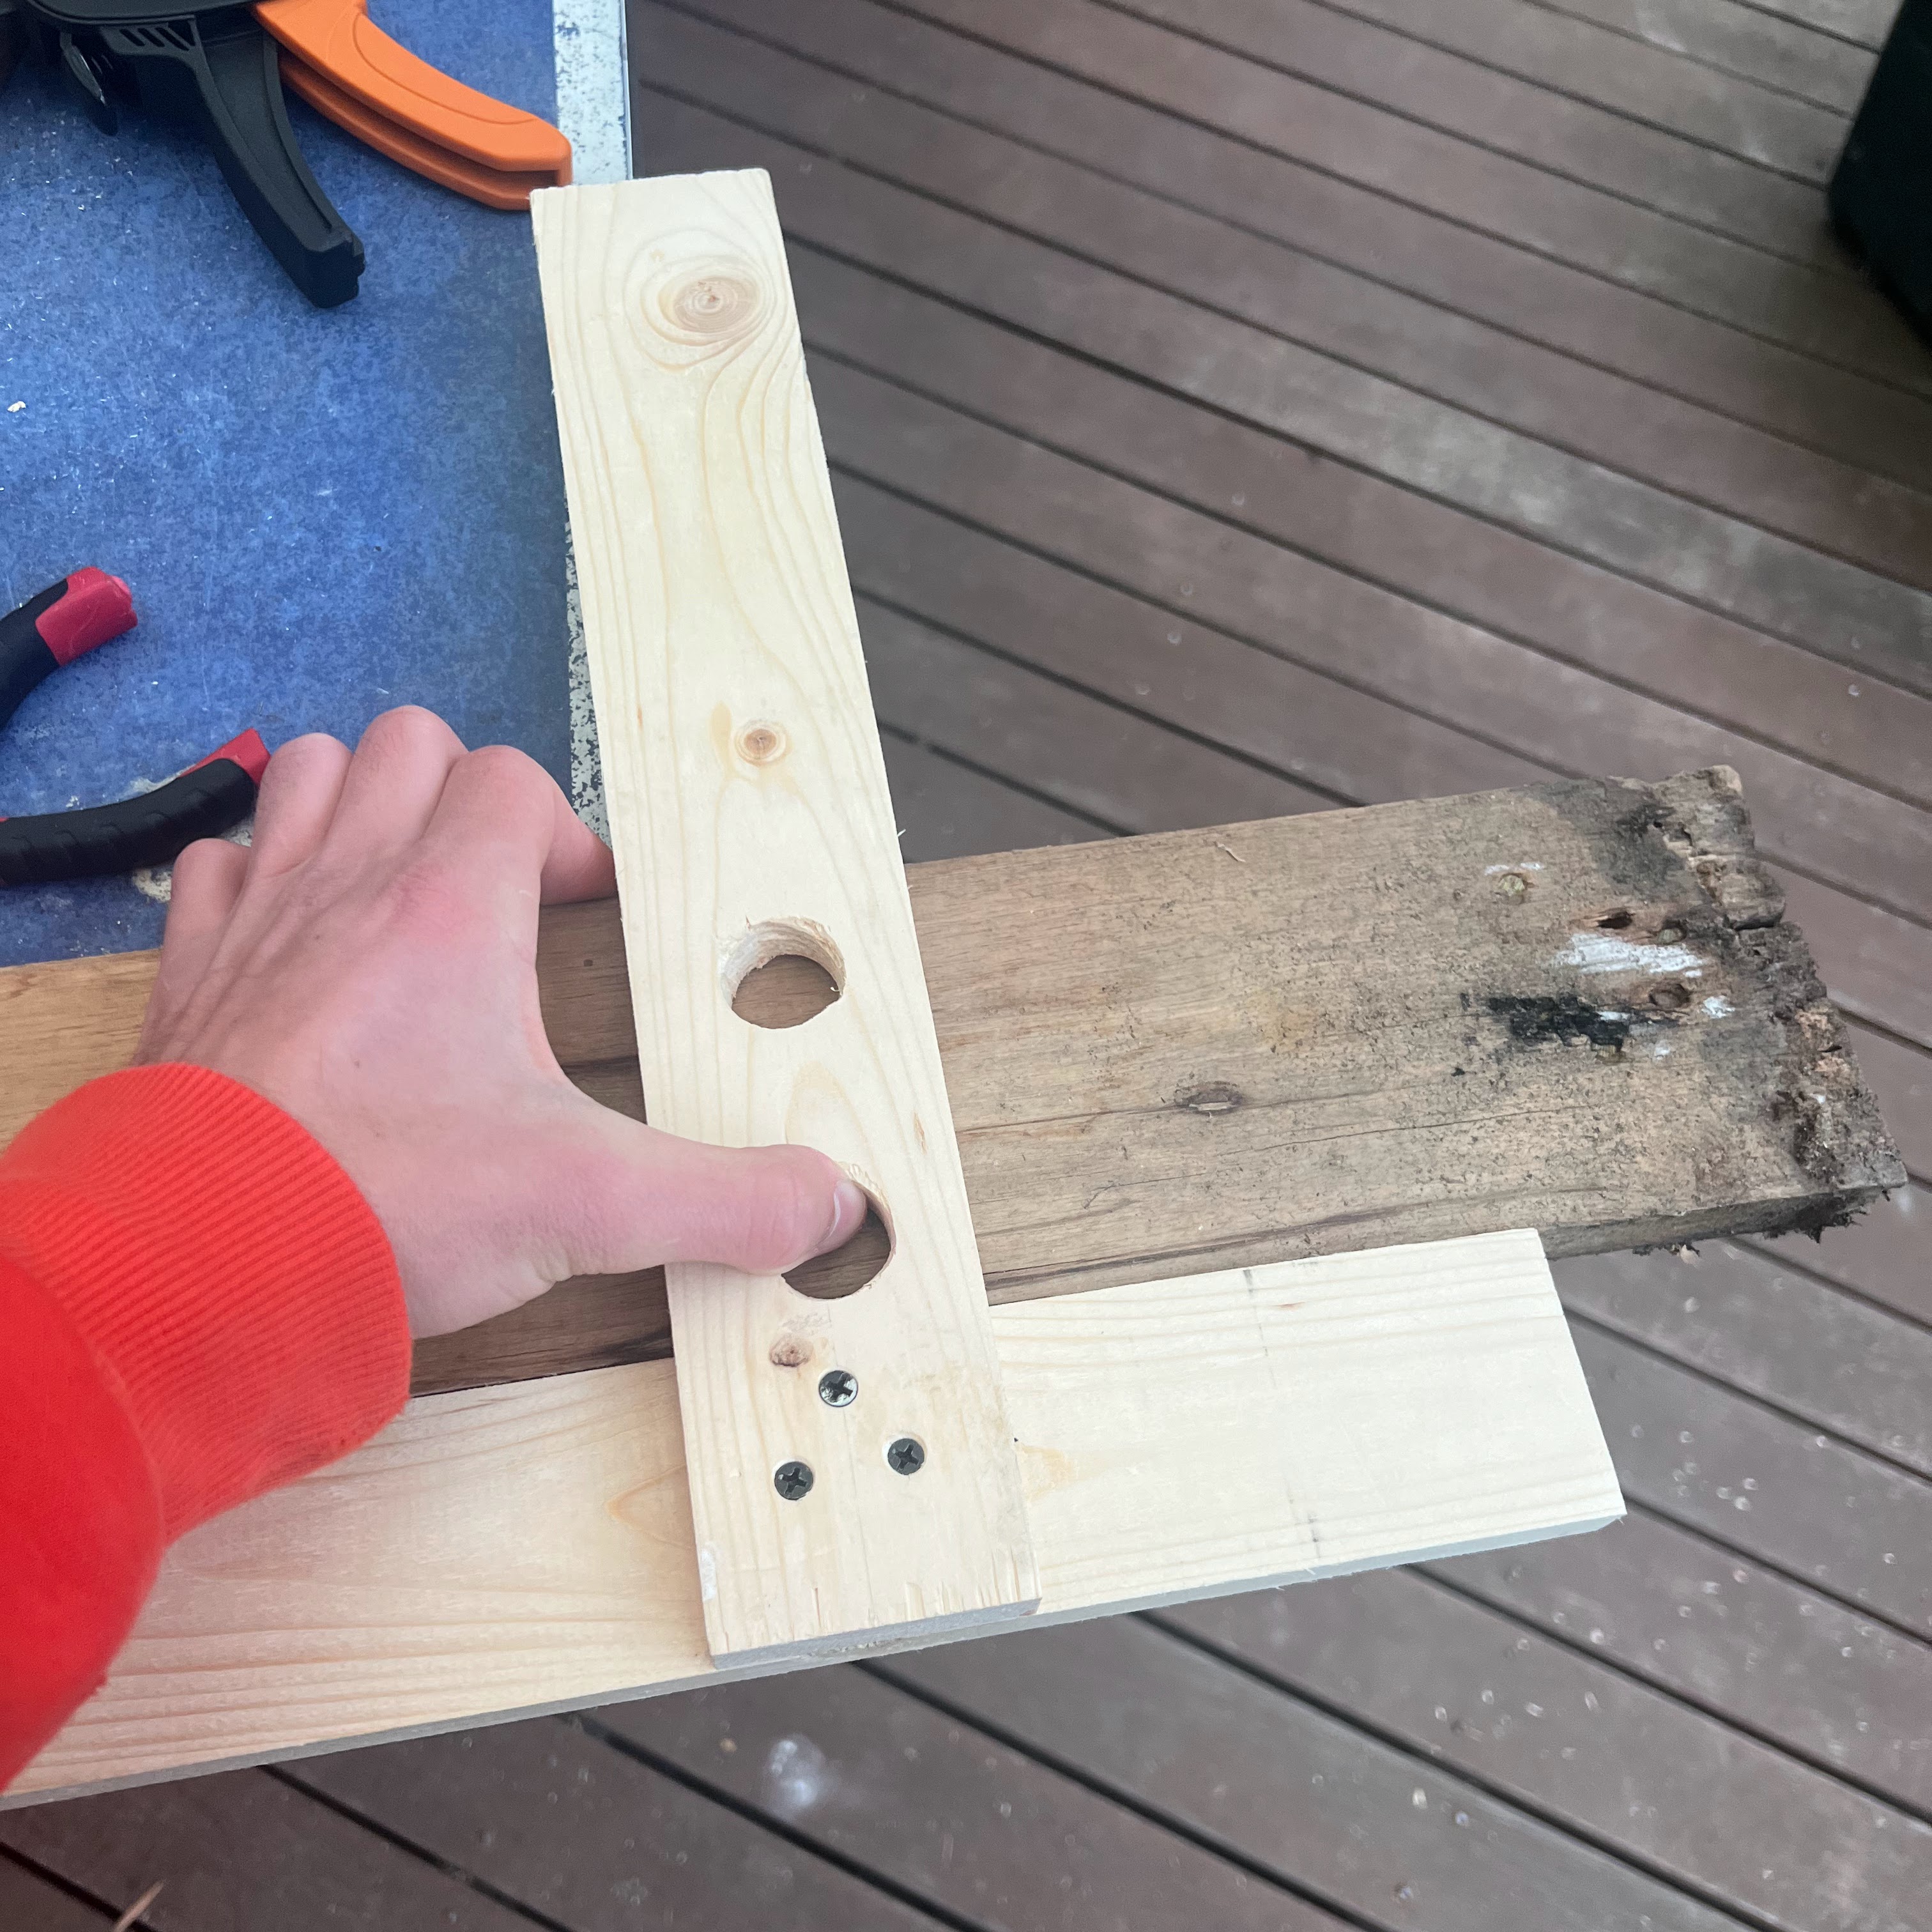
The two pieces of wood can be held together with just PVA wood glue, but I added a couple of screws too. Here’s what it looks like in real life:
 My (not very pretty) build of this jig. The two large holes help you hold it tight against your piece of wood.
Make sure you use a square to align the two boards! The jig is pretty useless if it’s not square 😅 You don’t have to be too precise with the width of the bottom board though — you can make it a bit wider than it needs to be on the circular saw side, and just trim it to size with your first cut.
Overall it works well!
Note: Adapt this jig to your tools! Make sure everything will fit and have clearance.
Initially I built this with two 18mm pieces of wood, which blocked the saw from sliding due to a part of the saw protruding on the left side. Make sure you’re building a jig for your tool and not just copying me blindly!